
|
Video & 3D Compositing, Match Moving Visual Effects Project
This project is designed to explore video capturing, using Adobe premiere, and then using motion tracking to track where objects are when they are placed in to the scene, using SynthEyes, adding a 3d object to the scene using 3ds max and then combining the video and max renderings using after affects. And then finally adding a title and credits to the video using Adobe Premiere then exporting the final video product.
|
|||
|
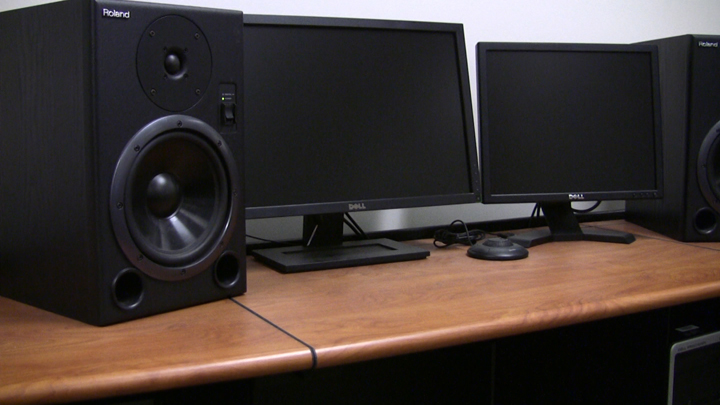
So the first step is to record something using a camera preferably a high definition capable camera. I took a simple 8 second shot of a pass by a computer desk.
|
|||
|
|||
|
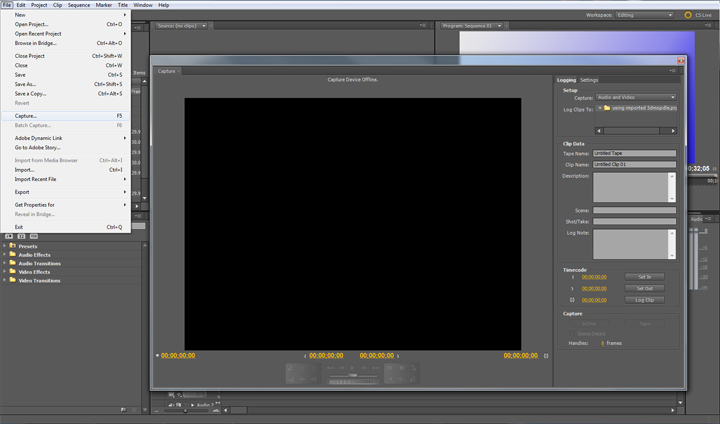
Next step is to capture the video in a program so you can start to edit it. So I used adobe premiere to do this. I set the project file to be HDV 1080i because of the cameras settings. If it was taken at a different frame resolution I would want to change the settings to match that. With the new project file I precede to capture the video from the camera. (File/capture). The camera is plugged in of course and then all I needed to do is scrub to the beginning of what I wanted to capture and click the record button. Once done I exported it out as a media file but as a jpeg sequence, so I can manually edit the video if need be, with the same settings as the file because I don’t want to mess with the quality.
|
|||
|
|||
|
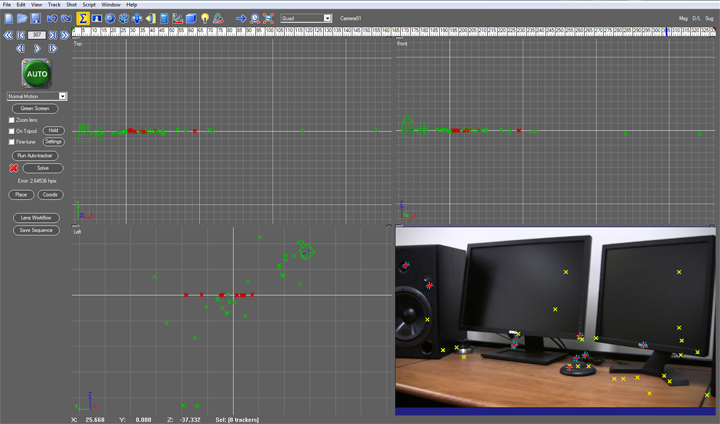
Because we want to add a 3d object to the video we need to know where objects lay in the scene and to do that we need a matchmaking program. In this case I used SynthEyes. Once open go (file/import/shot). Browse to where the beginning of the JPEG sequence is and click open and because they are sequentially numbered it will open all of the corresponding sequentially numbered JPEGs. With them loaded in all you have to do is press the big red button labeled AUTO. It usually will work and put all the takers in for you. If it doesn’t work I close the program and try again. Once done go (file/export/max script v6/later) to save the project as a 3DS MAX script file.
|
|||
|
|||
|
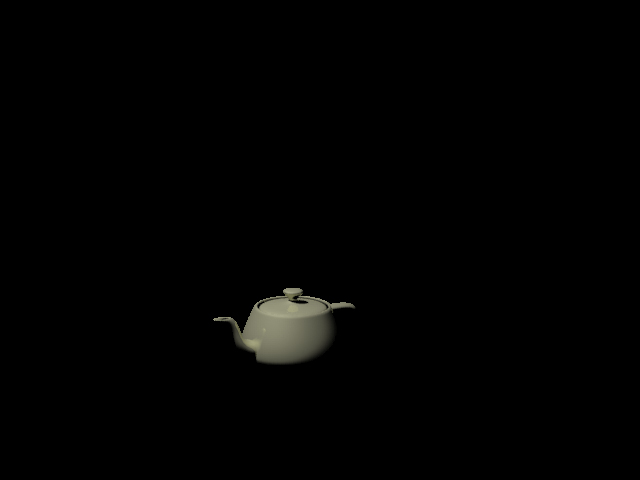
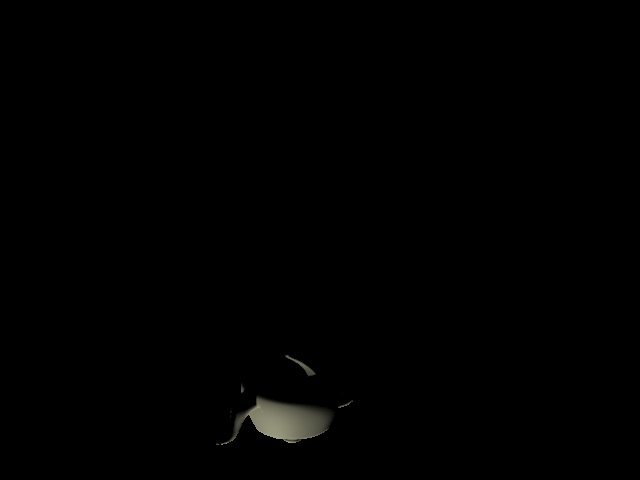
With the motion tracking done go to 3ds max and go run the saved 3dsmax script from SynthEyes in 3DS MAX. Once the scrip was done running I told the background to show the video that I took. So the motion tracking matches up with the background. Now using the background and motion tracking as a guide I placed a 3d object in to the scene. In my case decided to add a simple tea pot. I added lighting shadows and reflections using a mental ray facade material and adding ambient/Reflective Occlusion material as well. Once I was happy with the location and look of the teapot I rendered it out as frames using multi pass rendering. In my case I only wanted the teapot, reflection, and shadows.
|
|||
|
|
||
|
The reason I used multi pass rendering is if something is wrong with the reflections or shadows all I have to do is retender just that set of files instead of all the files. The other thing you must to for this to be successful is to changing the frame file type from jpeg or bmp to rpf. “Rich Pixel Format (RPF) stores a rendered frame from a 3D video or image; typically includes RGBA (red, green, blue, and alpha) information, but also supports arbitrary image channels such as depth ("z-depth"), transparency, surface normal, and others.” - http://www.fileinfo.com. The main reason to use this file format is for two reasons. It keeps the quality and it supports an alpha channel. The alpha channel is the background assuming there is nothing there or a solid background. if there is nothing there it will rend the background as black or any other color you told it to be but when we bring it in to Adobe AfterEffects it will be transparent thanks to the alpha channel.
|
|||
|
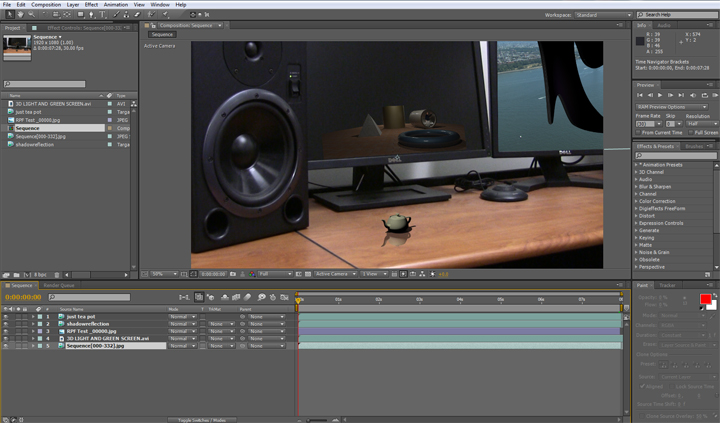
With the reflections, shadows and the object rendered out I brought them in to Adobe AfterEffects as sequences. In adobe AfterEffects I added the original video, the rendered shadow, reflections and the 3d tea pot. I do this by going to file/import and picking the beginning of the file sequence and making sure the sequence check box is checked or it will not import all of the sequential files. Thanks to the RPF file extension when I bring in the sequences the background is transparent and you can see the original video in the background. I proceed to edit the video to reduce the shear amount of shaking that the video had thanks to the camera bouncing about when the video was shot.
|
|||
|
Next I moved the teapot, reflections and shadows, at the same time as once, in to place their correct location. Then added some pictures to the monitors in the back ground to give the monitors more substance. I had to manually manipulate the pictures that were placed on to the monitors so they would fallow with the camera movement. It worked to an extent but not as well as I was hoping. Once everything was where it should be I saved the project as an adobe premiere project.
|
|||
|
|||
|
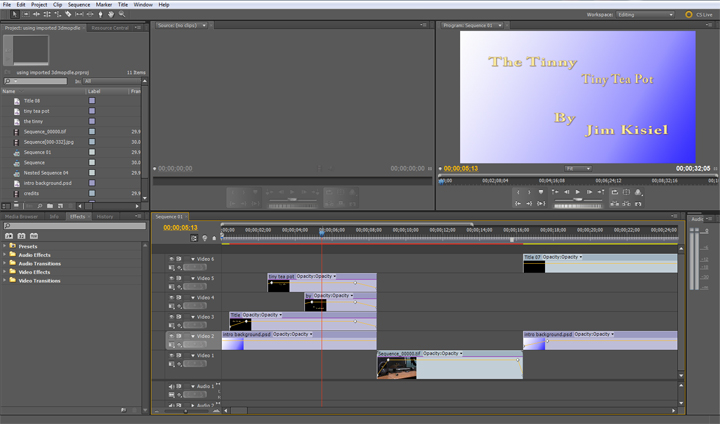
I opened the new adobe premiere project file in premiere and provided to add a title along with credits. To add a title and credits go to title/new title/ still or rolling, rolling for credits and still for title in my case. Once title and credits were complete it was finally time to render out a final product, in this case reduced the quality a little 720x480 so it can be seen on the web with ease.
|
|||
|
|||
|
The Tinny Tiny Tea Pot
|
|||
The Tinny Tea Pot from Jim on Vimeo. |
|||