
In the Fall 2025 semester, one of the main projects was to model a simplified engine model in Autodesk Inventor based on materials provided in class, then creating a new working drawing set (drawings detailing the necessary features of the part for reproduction) from the modeled parts(see the drawings here). After modeling the parts and creating the drawing, I created a new and improved version of it for 3D printing and animation in Autodesk 3D Studio Max.
In 3D studio Max, I imported the model I had made from Inventor and added bones to allow the parts to constrain them in the right places as the crankshaft rotates, in a process known as rigging without rigging, I would have had to move each part on its own to the correct places. Excruciating! After adding materials, I then added lighting to help give some life to the engine. I planned and animated the camera and part movements, creating two separate versions of the shot: one with the engine block in place and one without, to allow for better viewing of the crankshaft, pistons, and connecting rods.
Once the planning was done, I started the process for rendering the frames of the animation, opening 3D Studio Max from the Windows command line to render the two scenes in sequence with the help of a Windows batch script.
Once the individual frames were all done being rendered, I moved on to using Adobe Premiere Pro to stitch the frames together into video footage, adding appropriate transitions between the individual scenes, title cards made in Adobe Photoshop, and music sourced from the Free Music Archive.
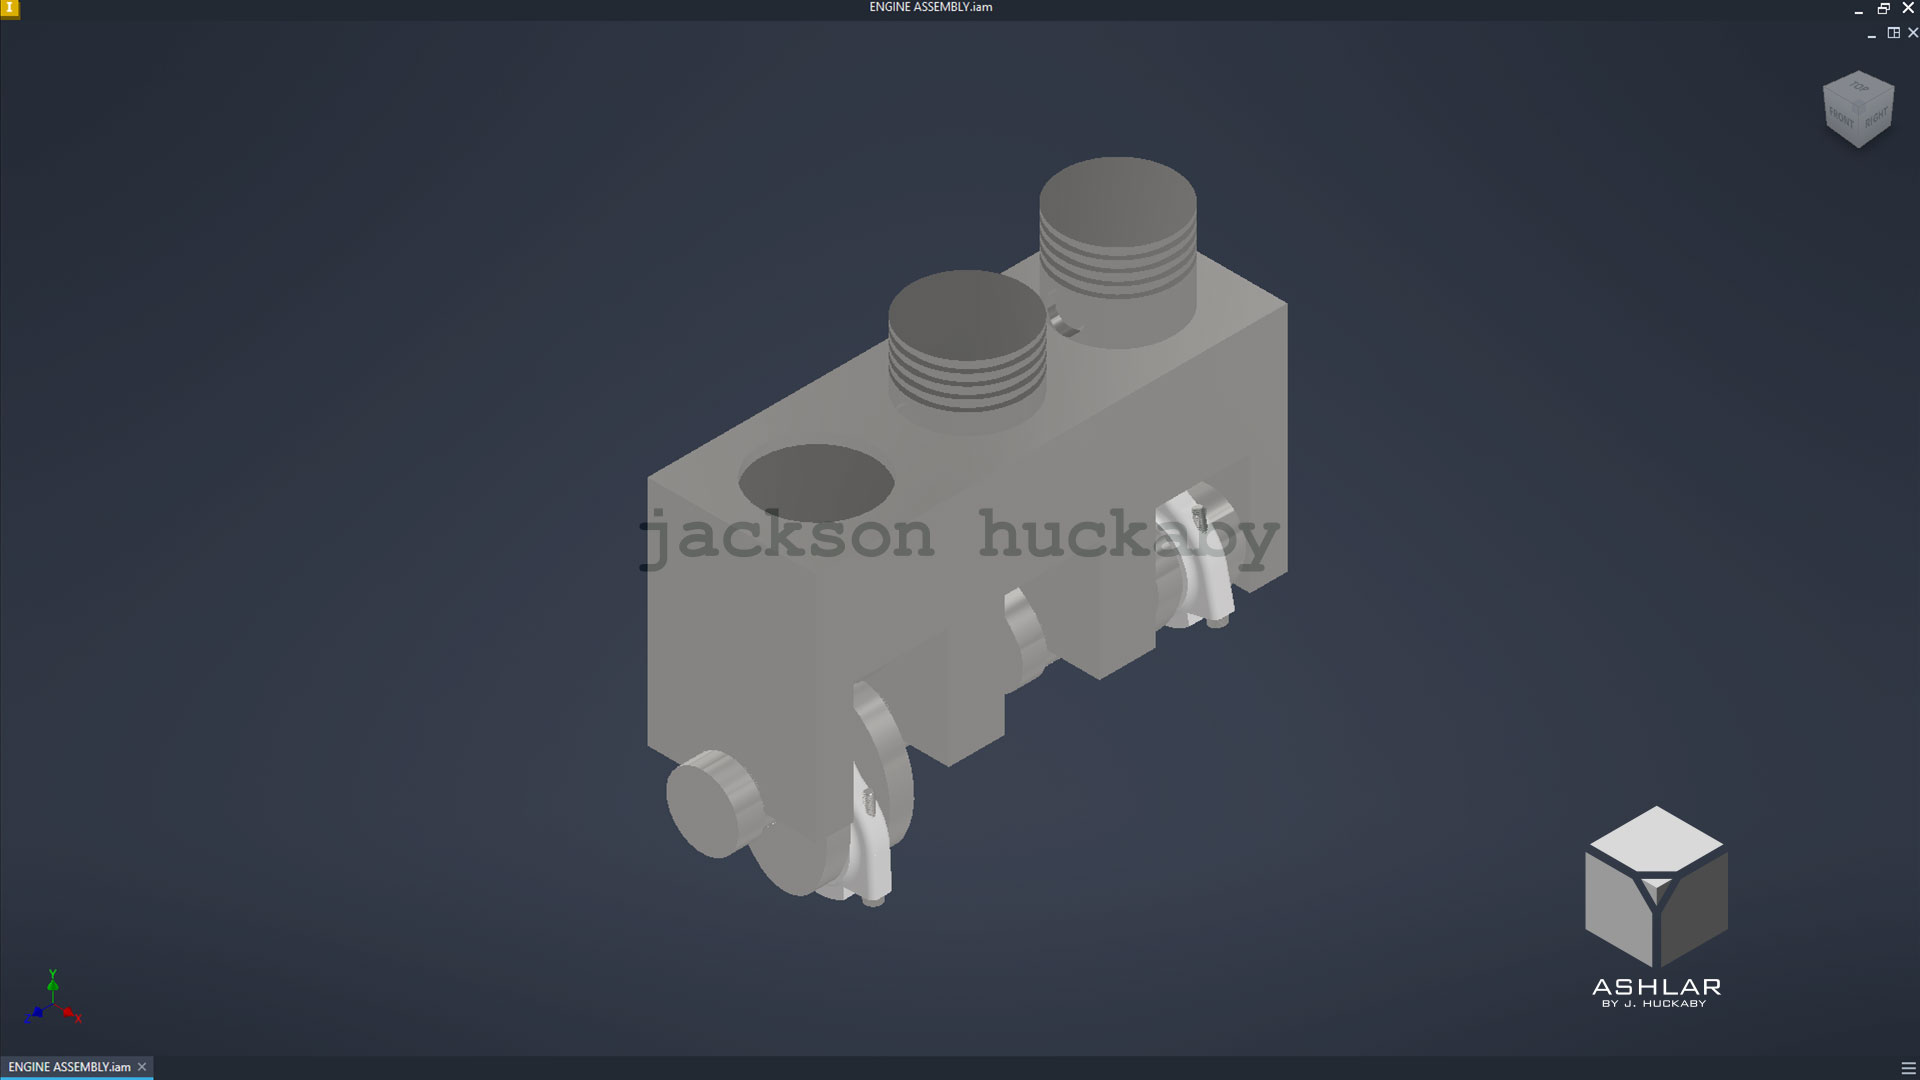
original engine
|
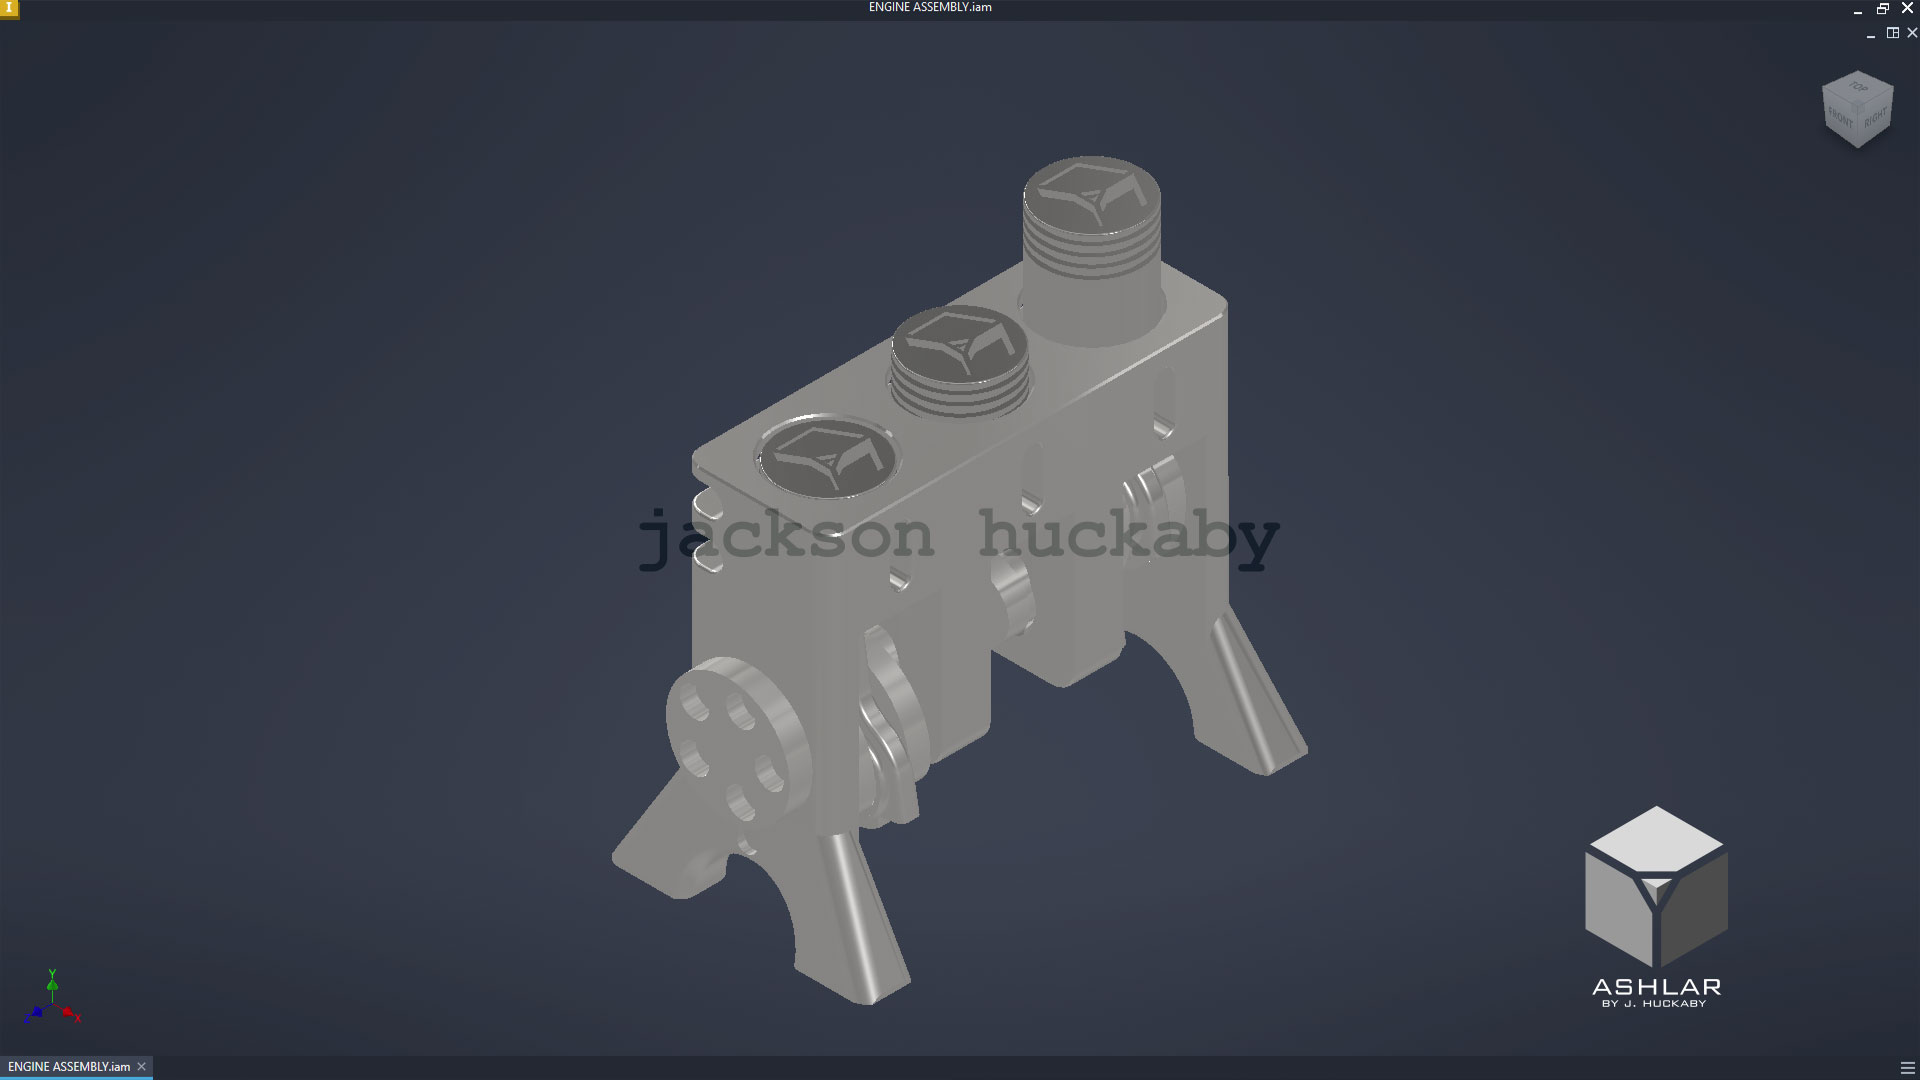
3D printable engine
|
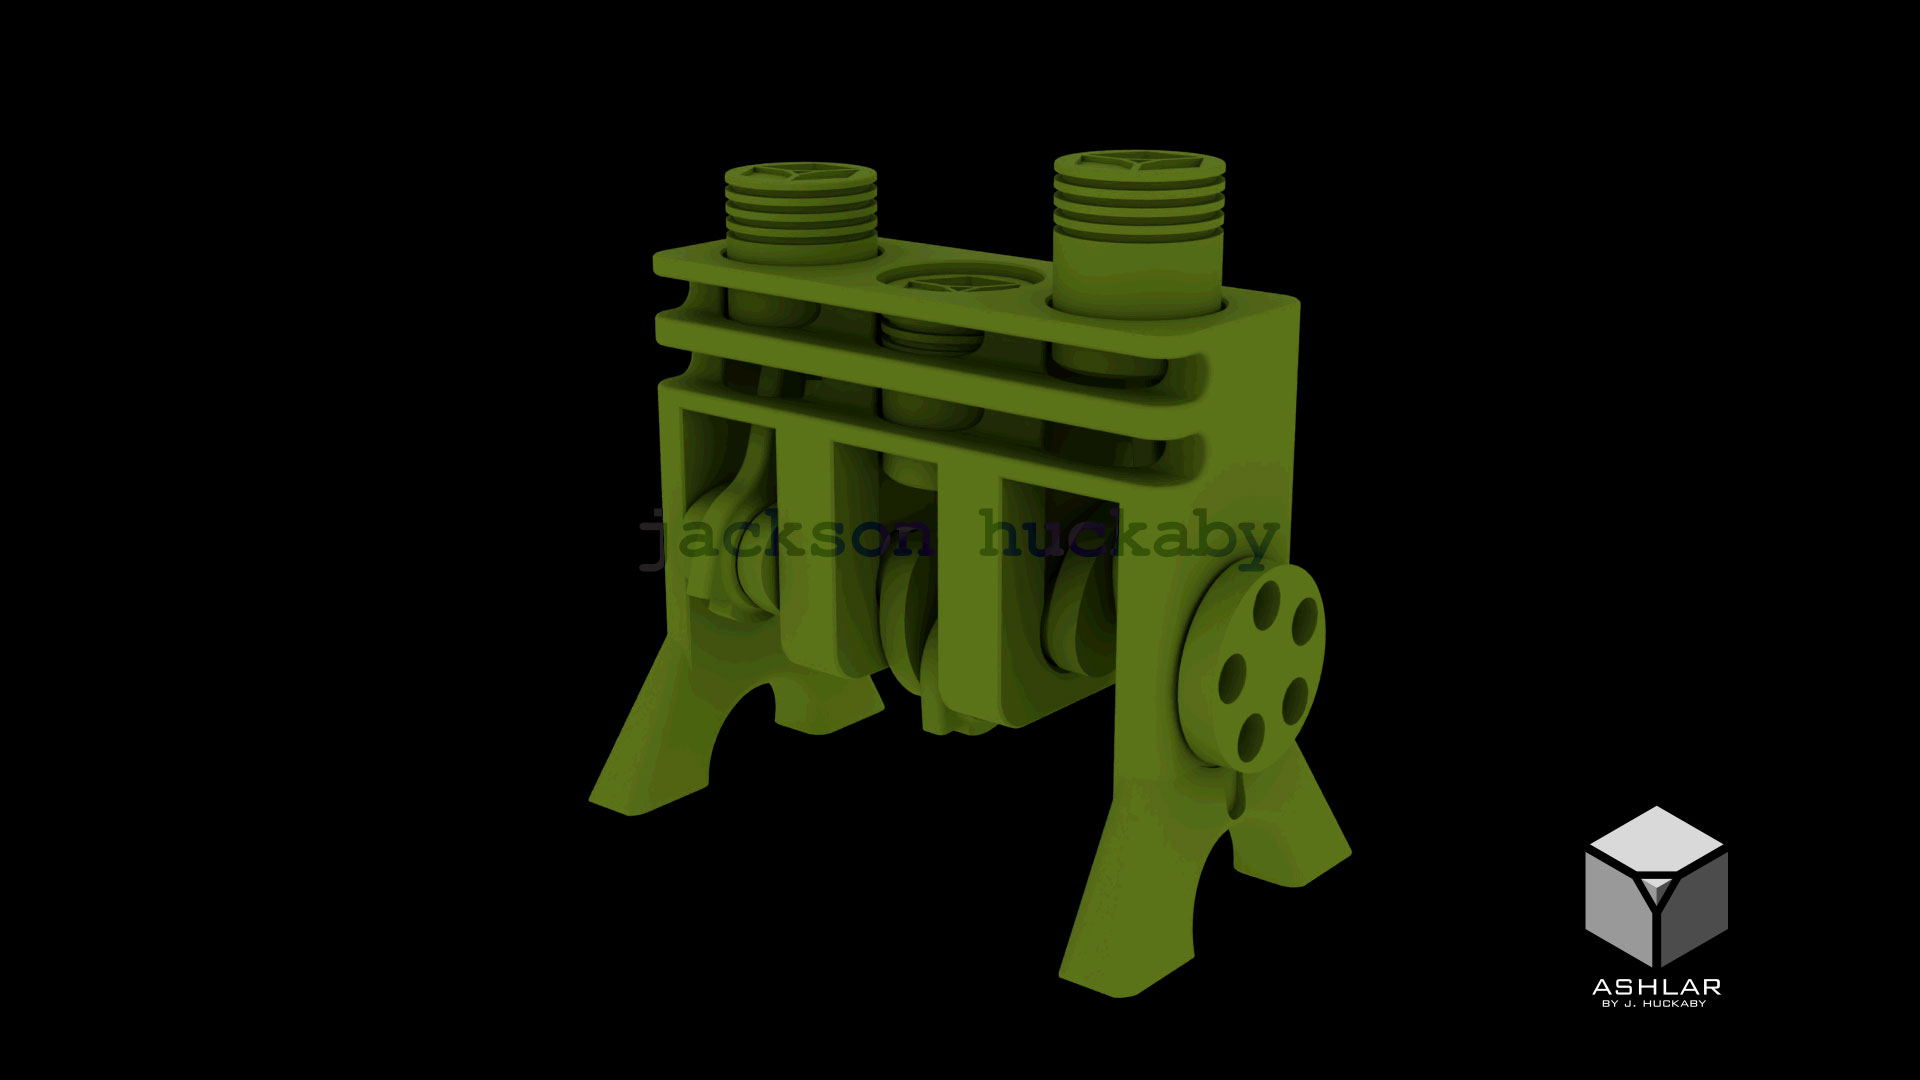
3DS Max render
|